Overview
Isn't Google Forms great? You can use it for surveys, for gathering user feedback, quizzing your students, generating leads, collecting support requests - basically anything you would use a form for. Even better, it's FREE to use. However... it won't give you all of the same benefits as a paid solution - like sending auto-replies. That's where Bootstrapping Tools comes in! The tool below will let you set up an auto-reply message which gets sent to anyone that makes a submission to your Google Form. We even included an HTML email template so that your emails can look better than just plain text.
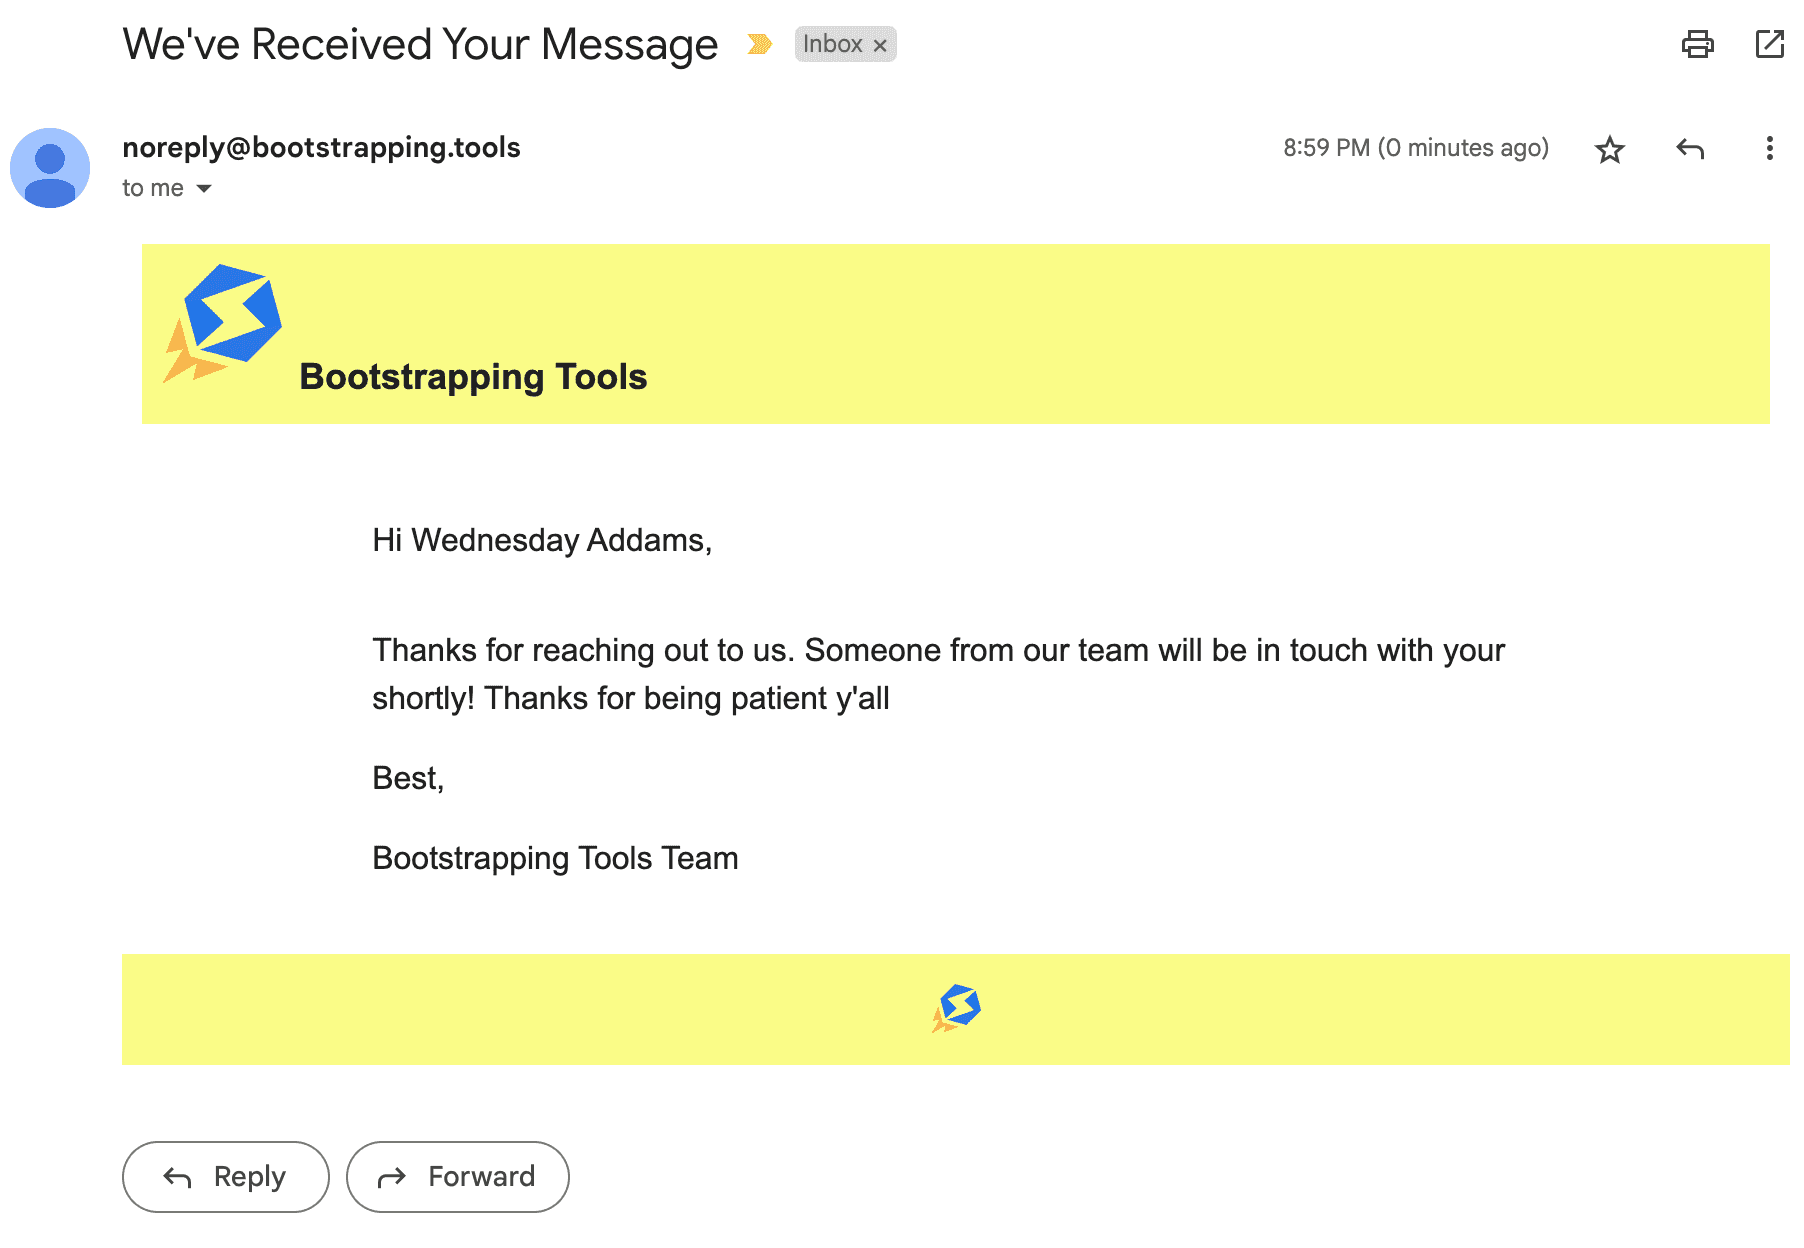
Here's what our HTML email template looks like. If you're familiar with HTML and CSS, you should be easily able to modify it to fit your own style and theme.

In the template, you might have noticed a company name, logo and footer. You'll be able to add in those into the template using the form fields below - along with the Email Subject and Body text.
Instructions
-
Before getting started, make sure you have a Google Form that is sending the responses to a Google Sheet. If you don't know how to do that, checkout our Youtube Tutorial Video
-
Fill out the form below. If you don't have a company name, logo, or website - you can leave all of those fields blank
-
For the "Recipient Email Field Name" field, use the column header where the email addresses are being captured from your Google Form. If you're using Google Form's "auto collect email" feature, it's probably named "Email Address"
-
For the "Recipient Name Field Name" field, use the column header where the submitter's name is located. If you aren't asking for their name, feel free to leave this field blank
-
Next, put in the Reply To email address you want any replies to be routed back to. If you don't want users to reply back, check off the "No Reply" checkbox
-
Next, fill out the Email Subject field - email subjects with more excitment tend to get opened more ;)
-
Finally, fill out the Email Body field. For new paragraphs, leave at least one new line inbetween paragraphs.
-
Once you've filled out the forms, it's time to install the code into your Google Sheet - click on the "copy" icon in the upper right-corner of the code preview box for the
Code.gsfile. This will copy all of the code to your clipboard -
Navigate back to the Google Sheet which is attached to your Google Form
-
In the Google Sheet, click on the "Extensions" option and select "Apps Script" - this will open up a Google Apps Script project that is bound to your Google Sheet
-
Paste in the code you copied and save the file (CMD+s / CTRL+s)
-
Now go back to the tool and copy the code for the
emailTemplate.htmlfile. -
Back in your Google Apps Script Project, create a new file using the PLUS(+) icon found in the upper left area. Select "HTML" from the options. Make sure to name this file
emailTemplate.html -
Once you've copied all of the code, hit the save button to save your Google Apps Script project
-
Now it's time to run the
initialSetup()function - you can do this by clicking on the drop down located next to the "Debug" button, selecting "initialSetup" from the options, and then clicking on the "Run" button. -
The app will ask you to authorize the code to execute. Just follow the prompts to grant your new script access to make the changes it needs.
-
Once you've authorized the script and the script has completed, go back to your Google Form and preview it so that you can submit a response. After you've submitted a response, you should see an email come through to the inbox of the email address entered into the form (or the Google email account you're logged into when you submitted the form)